Histology processing protocol
Histology tissue processing protocol from Mai Saowaros
The following protocol is a compilation of the wisdom from Mai Saowaros, postdoc at the University of the Sunshine Coast, whch I used to prepare oyster gonad tissue slides on Ostrea angasi summer 2018.
Fix tissues
Fix tissue in freshly prepared 4% paraformaldehyde, pre-chilled at 4C with gentle shaking. Fixation time depends on tissue size. For 3-5 mm thick sections, fix overnight. Fixing tissues in the fixative for too long will make the tissues rigid and hence difficult to section, as well as cause a high background staining for IHC work. For thicker sections, longer fixation time is required. Ensure that the ratio of fixative to tissue is high (mimimum 10-20x by volume), particularly if shaking at 4C is not possible.
After paraformaldehyde fixation, wash tissues in phosphate buffered saline (PBS) 3 times, 20 minutes each at 4C with gentle shaking. This removes excessive fixative from the tissues.
Dehydrate the tissues with 70% Ethanol by washing for 20-30 min 3 times, then store the tissues in fresh 70%EtOH for 1-2 days at room temperature or up to 1 week in the fridge for optimal results. If longer, refresh with new 70%EtOH every two weeks. It’s also okay to hold samples in 70% EtOH at room temperature (20-27 C) for short period of time (e.g. if transferring between locations).
Processing the tissues quickly is essential for immunohistochemistry, immunofluorescence, and ISH. If, for example H&E staining is being used to determine gonad stage and sex, several weeks of storage should not be a problem (e.g. 8 weeks in my case).
Reagents used:
- 0.01 M phosphate buffered saline at pH 7.4 for washes
- 4% Paraformaldehyde (see recipe below)
- 3X Phosphate buffered saline
- NaOH pellets (can be purchased from hardware store)
Preparation of 4% Paraformaldehyde Fixative (adapted from Aguirre lab preparation protocol, which was from Short Protocols in Molecular Biology, 5th edition (2002) and Mai’s suggestions.
- IMPORTANT: Use a fume hood when working with PFA, especially powder form
- Fill volume of DI or distilled water (I used distilled) equal to slightly less than 2/3 of the final desired volume (in my case, I used 650mL)
- Weigh out a quantity of paraformaldehyde equal to 4% volume of the final solution. For example, for 100 ml final volume, weigh 4 g of paraformaldehyde (I prepared 1L 4%PFA, so used 40g PFA powder).
- Add paraformaldehyde to water and stir using a magnetic stirrer. It will not yet dissolve.
- Add NaOH pellets, a small amount at a time, into the solution and stir until pellets are fully dissolved. Add NaOH until PFA is also dissolved and solution is clear.
- Add 1/3 volume of 3X PBS and mix.
- The pH of the solution is now as high as >12. Adjust the pH down to 7.4 by using concentrated HCl solution, one drop at a time. Be careful, as pH will drop quickly with small amounts of HCl.
- Chill at 4C before using as fixative.
4% PFA is best prepared fresh for every use
10X PBS recipe, can be used to make 3X PBS for 4% paraformaldehyde
To make 10X PBS, mix the following and store indefinitely at room temperature:
- 80g NaCl (1.37 M)
- 2g KCl (27 mM)
- 11.5g Na2HPO4 7H2O (43 mM)
- 2g KH2PO4 (14 mM)
- H2O to 1 Liter
Process Tissues
Move tissues (still in cassettes) through serial rinses of processing reagents. Supplies needed:
- 70% ethanol
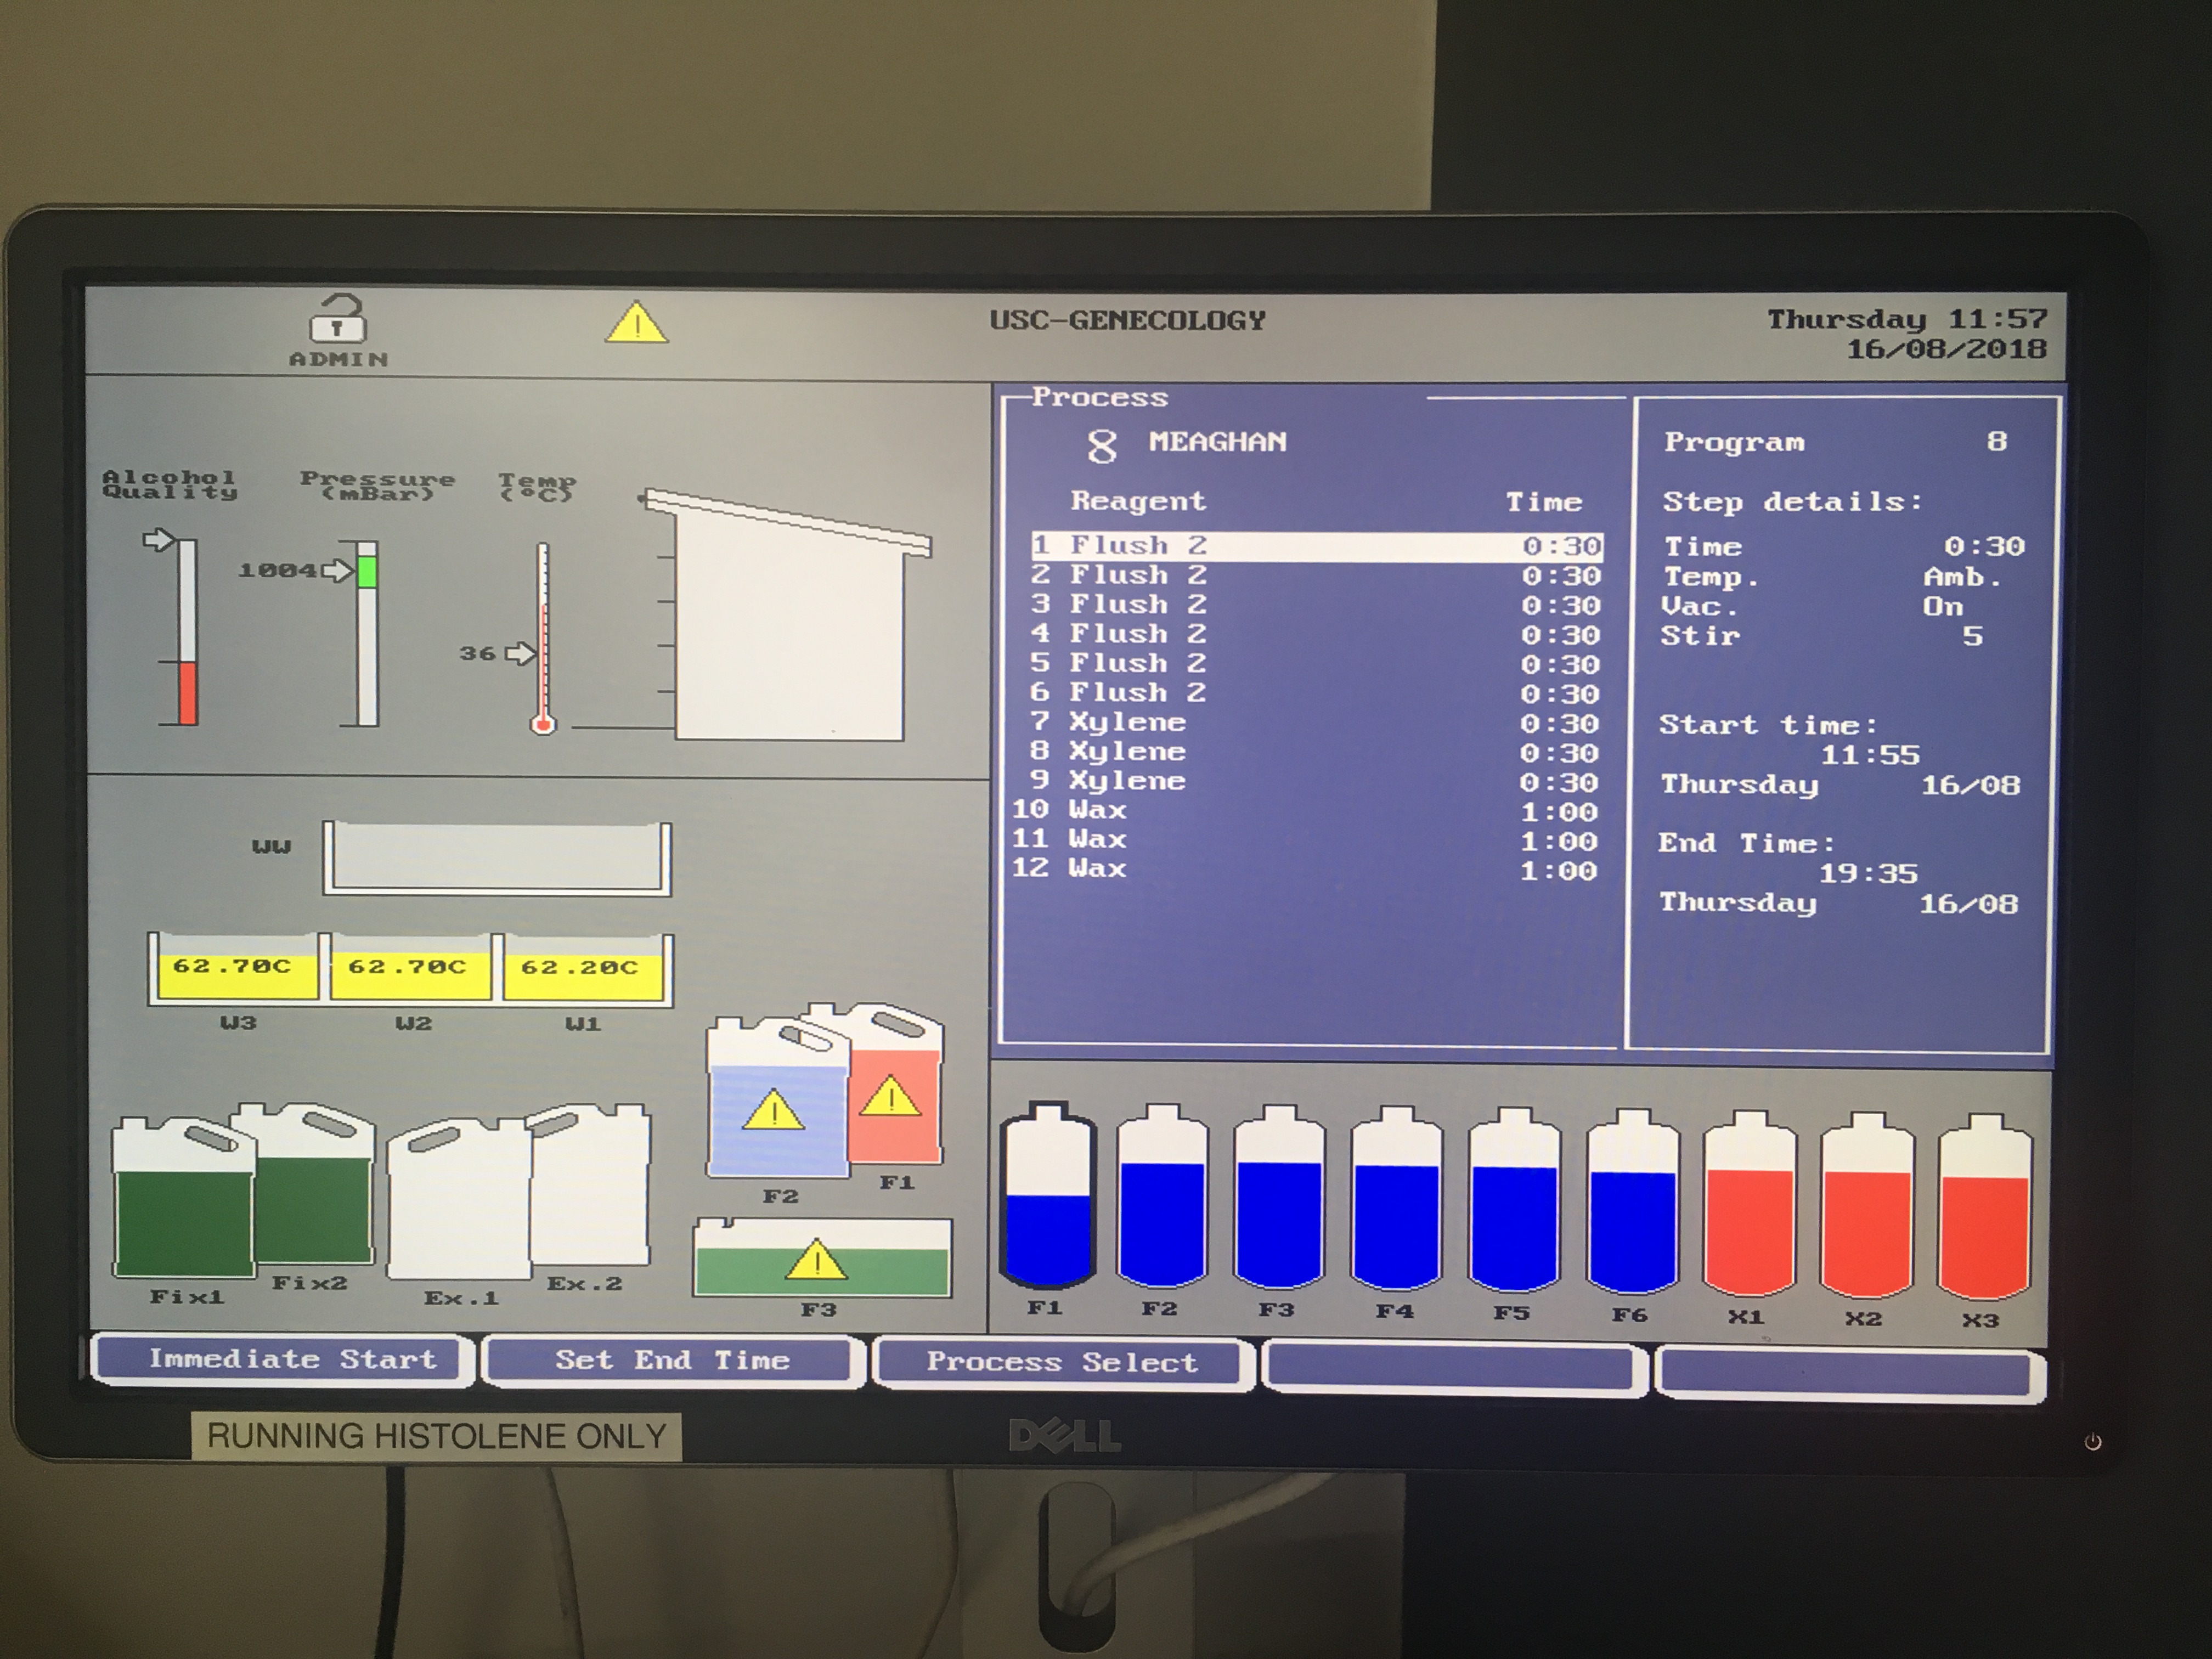
- Tissue processor; we used a Thermo Shandon Excelsior E.S.
Tissues will have been held in 70% ethanol in cassettes, refrigerated, prior to tissue processing. NOTE: only process the number of cassettes you can feasilbly embed in paraffin in one sitting (I processed ~20 per day). Tissue processing time takes 7.5 hours, so delay the processing start time so that it ends in the morning (or at a time that allows for immediate embedding).
- Transfer tissues/cassettes to fresh 70% ethanol, and let soak for ~30 minutes
- Use Tissue Processor for serial rinses. With the Thermo Shandon processor the following settings were used:
- “Flush 2”, 30 minute cycle, 6 times
- Xylene, 30 minute cycle, 3 times
- Wax, 60 minute cycle, 3 times
Embed tissues in paraffin blocks
Immediately following processing step, embed tissues in paraffin wax blocks. Supplies needed:
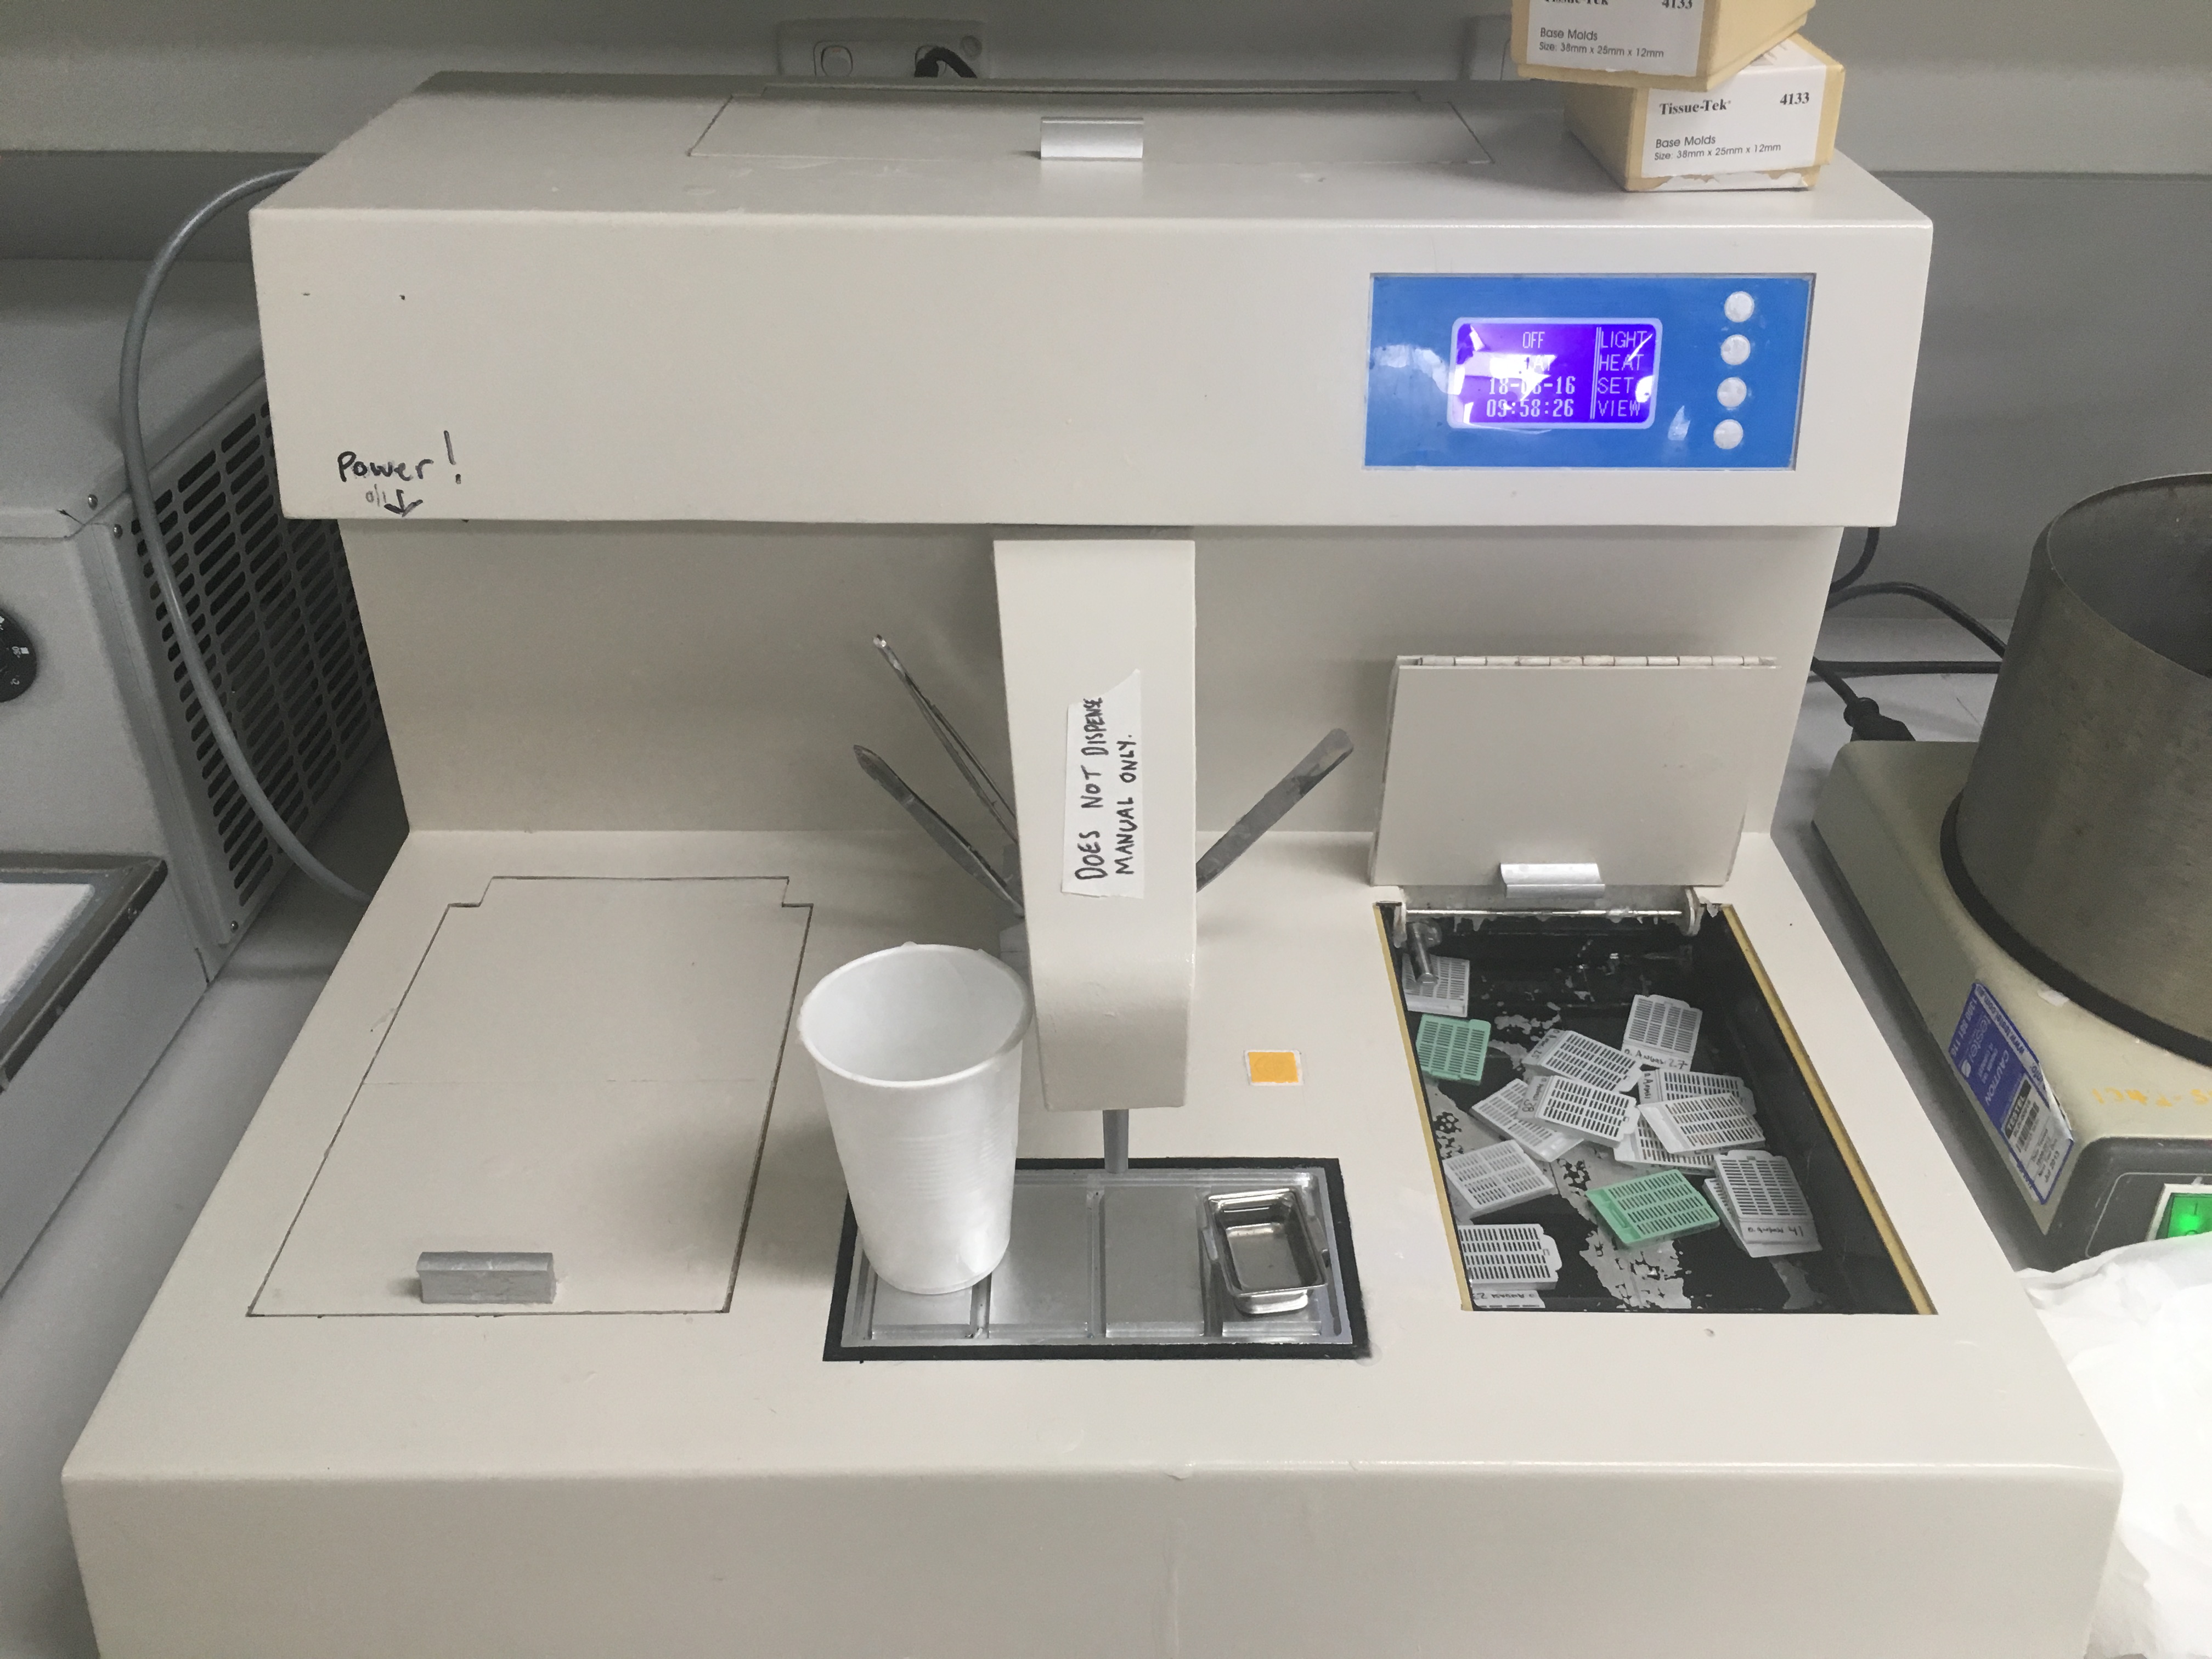
- Paraffin wax, instrument to heat and hold wax at 60C
- Forms for blocks
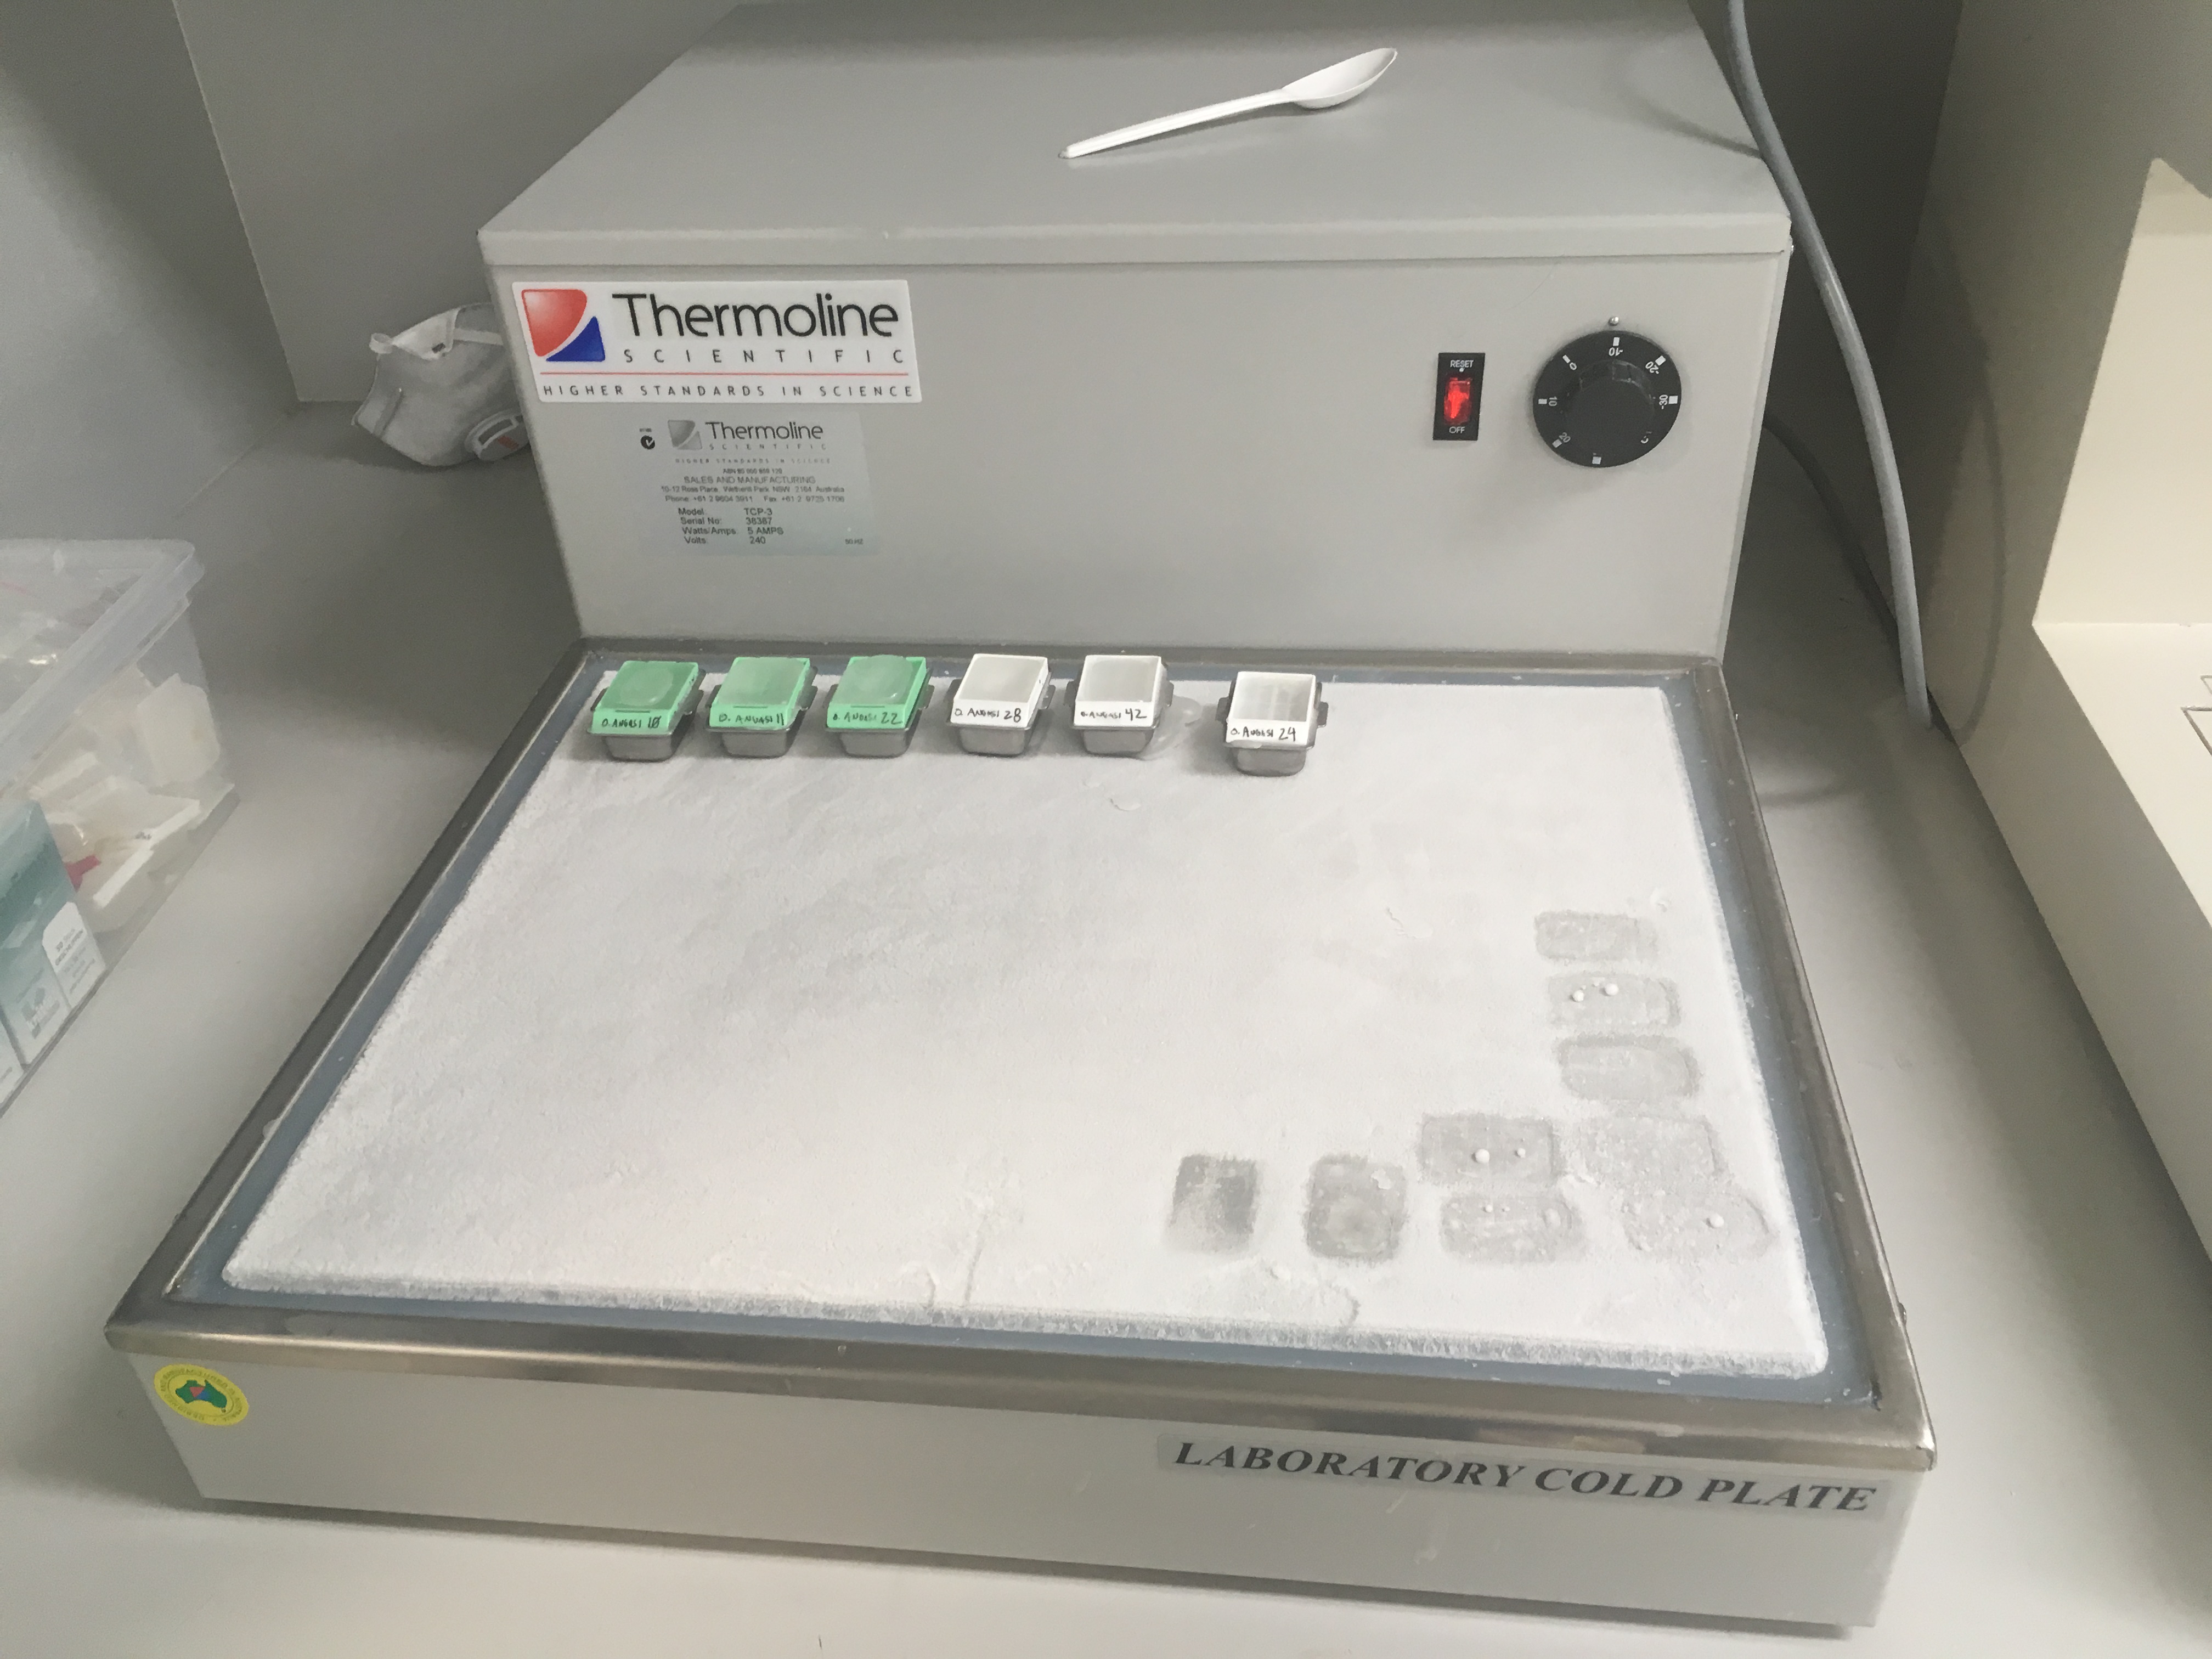
- Cold plate (-10C)
- Tweezers (multiple)
- Small metal spatula
Steps
- Heat paraffin wax until melted at 60C, takes approximately 30 minutes.
- Do not allow tissues to sit in final processing step. Immediately transfer tissue cassettes to pre-melted paraffin wax.
- Fill forms half way with melted paraffin.
- Remove a cassette from melted wax, open carefully. Transfer tissues to form maintaining configuration (if >1 tissues in cassette).
- Carefully move form (with tissues) over to cold plate, place for ~10-15 seconds to allow bottom layer of wax to set to hold tissues in place.
- Remove blocks from cold plate, fill to the top with paraffin wax.
- Transfer back to cold plate. Let sit on cold plate for ~2 minutes until wax starts to look opaque. Top off with more hot wax to ensure the mold is completely full.
- Let wax cool and set for ~30 minutes before removing blocks from forms. May need to use metal spatula to shave wax away from top/edges of form.

Section
Cut tissue sections from blocks and mount on slides. Supplies needed:
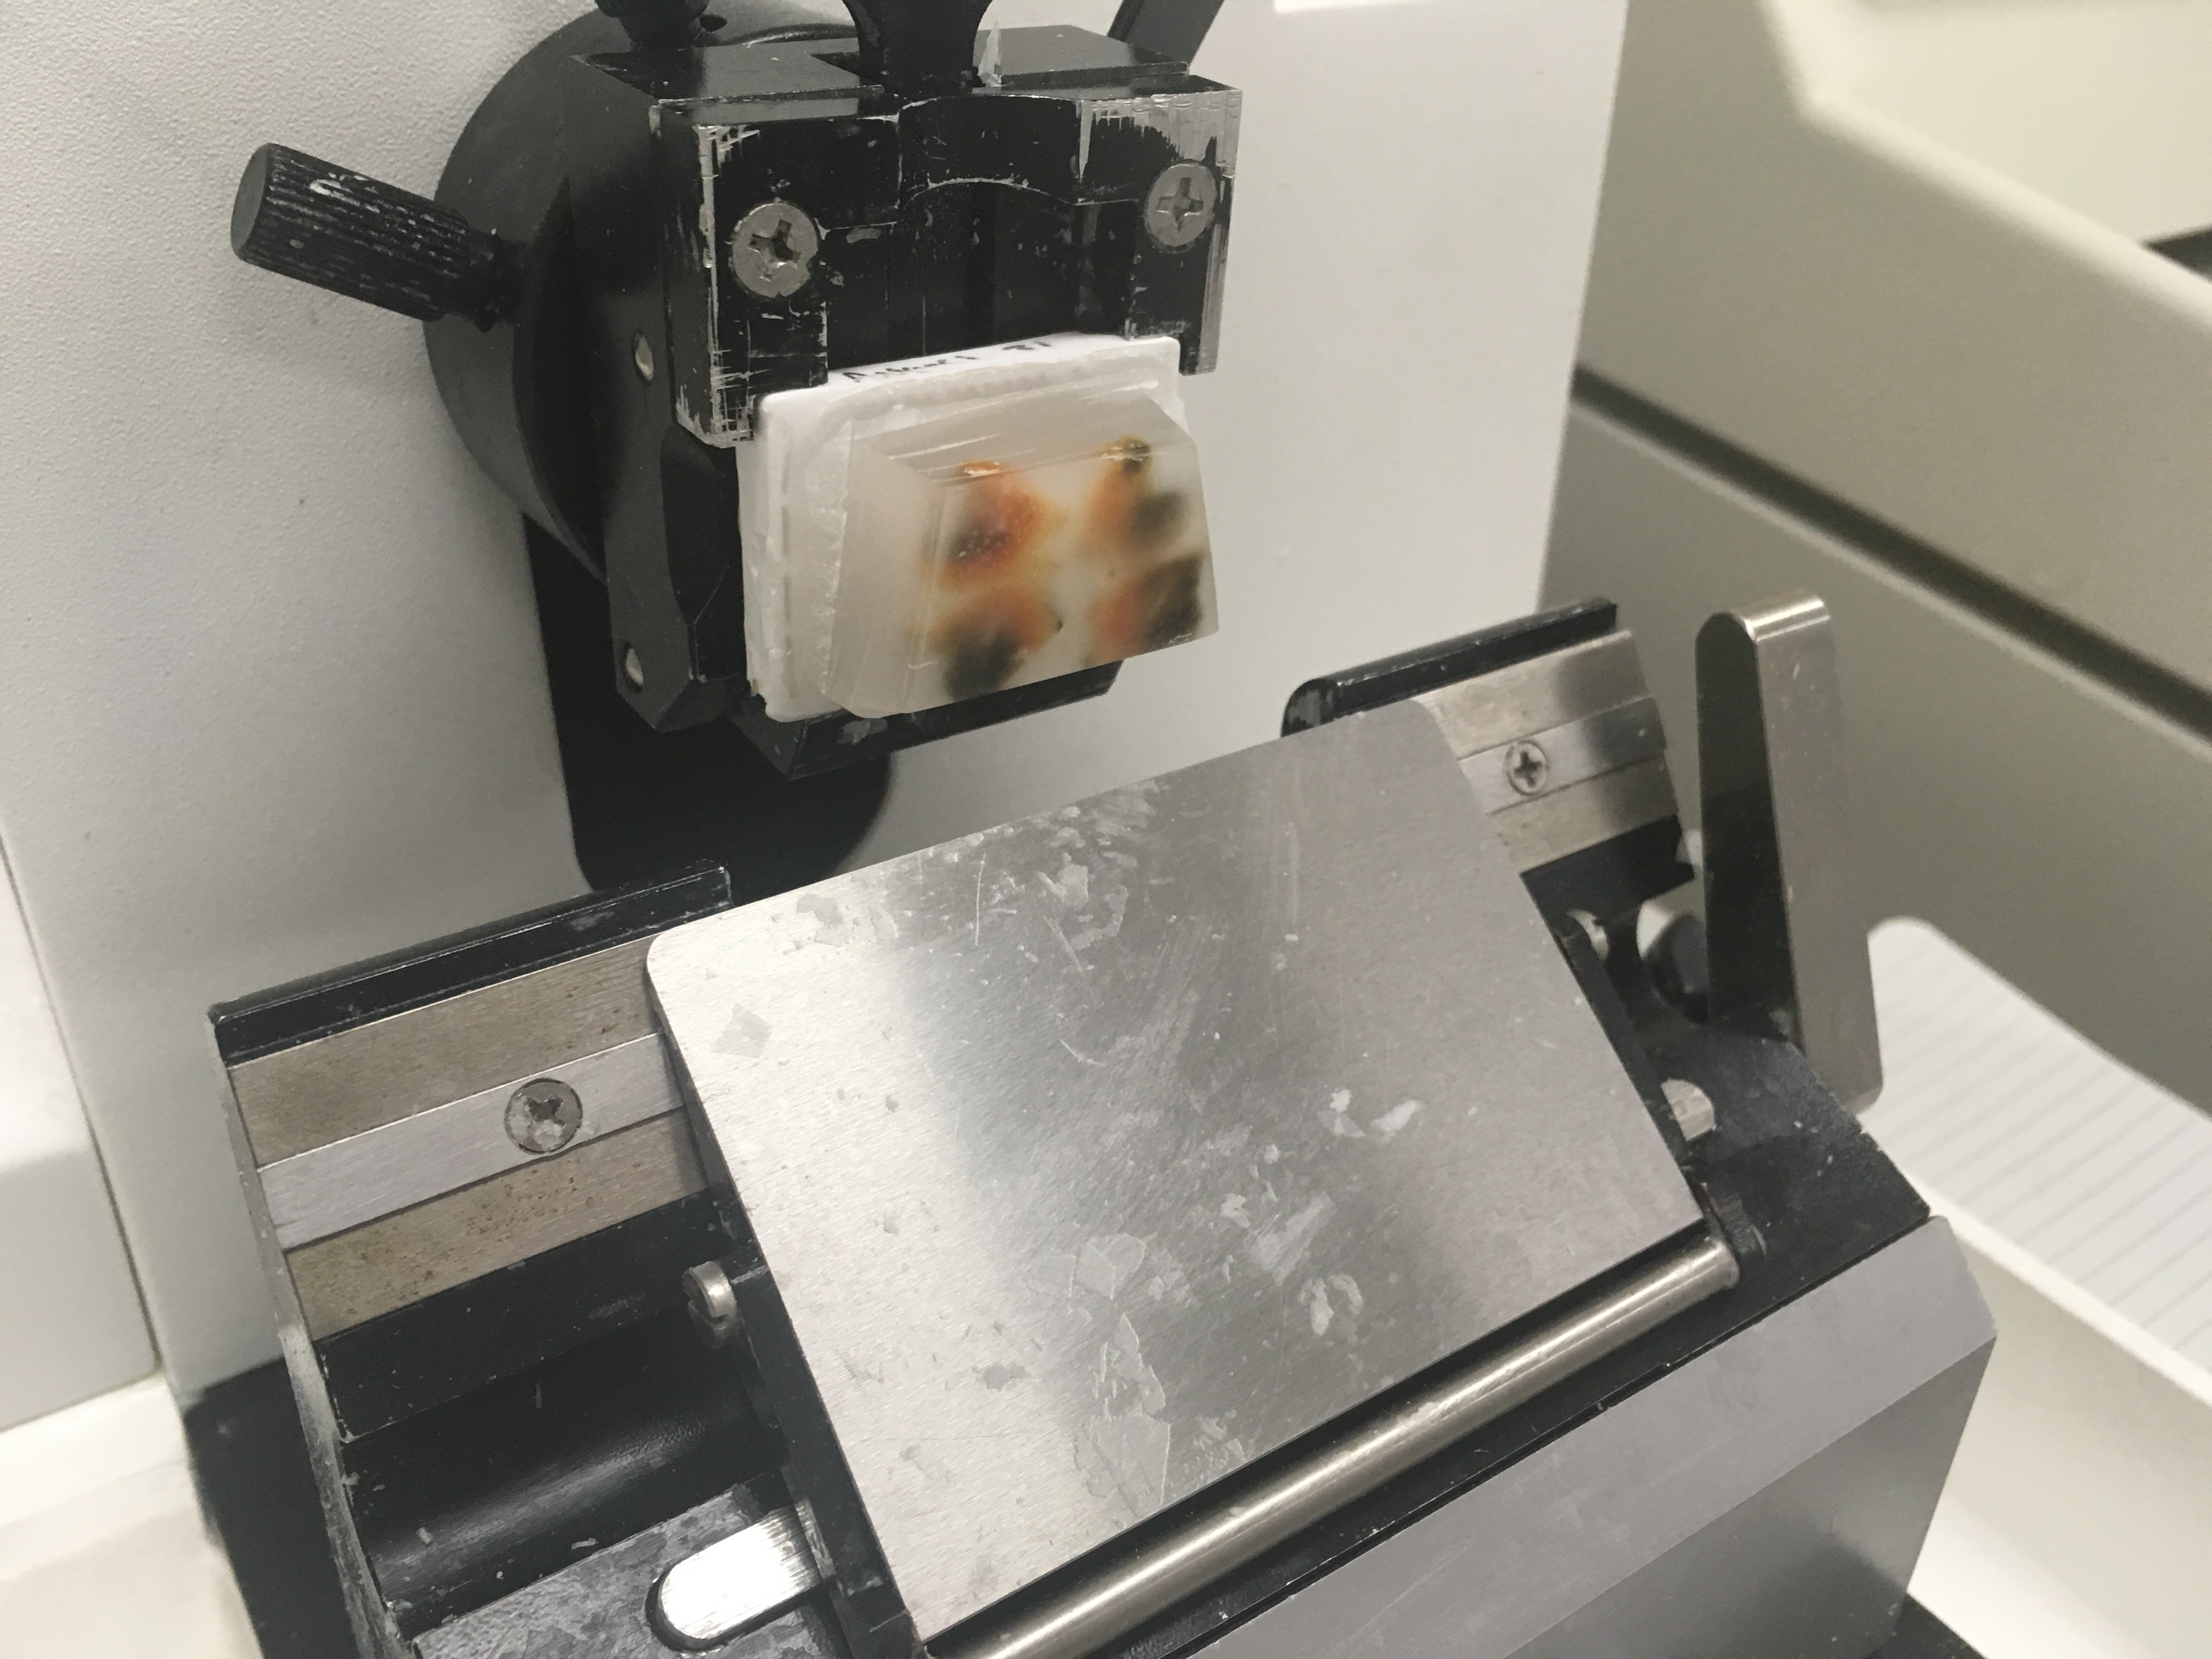
- Block sectioning machine
- Blades (several, 2-10 blocks per blade)
- Paint brushes, various sizes
- Tweezers (a couple pairs)
- Blank paper
- Razor blade
- Heating block
Steps
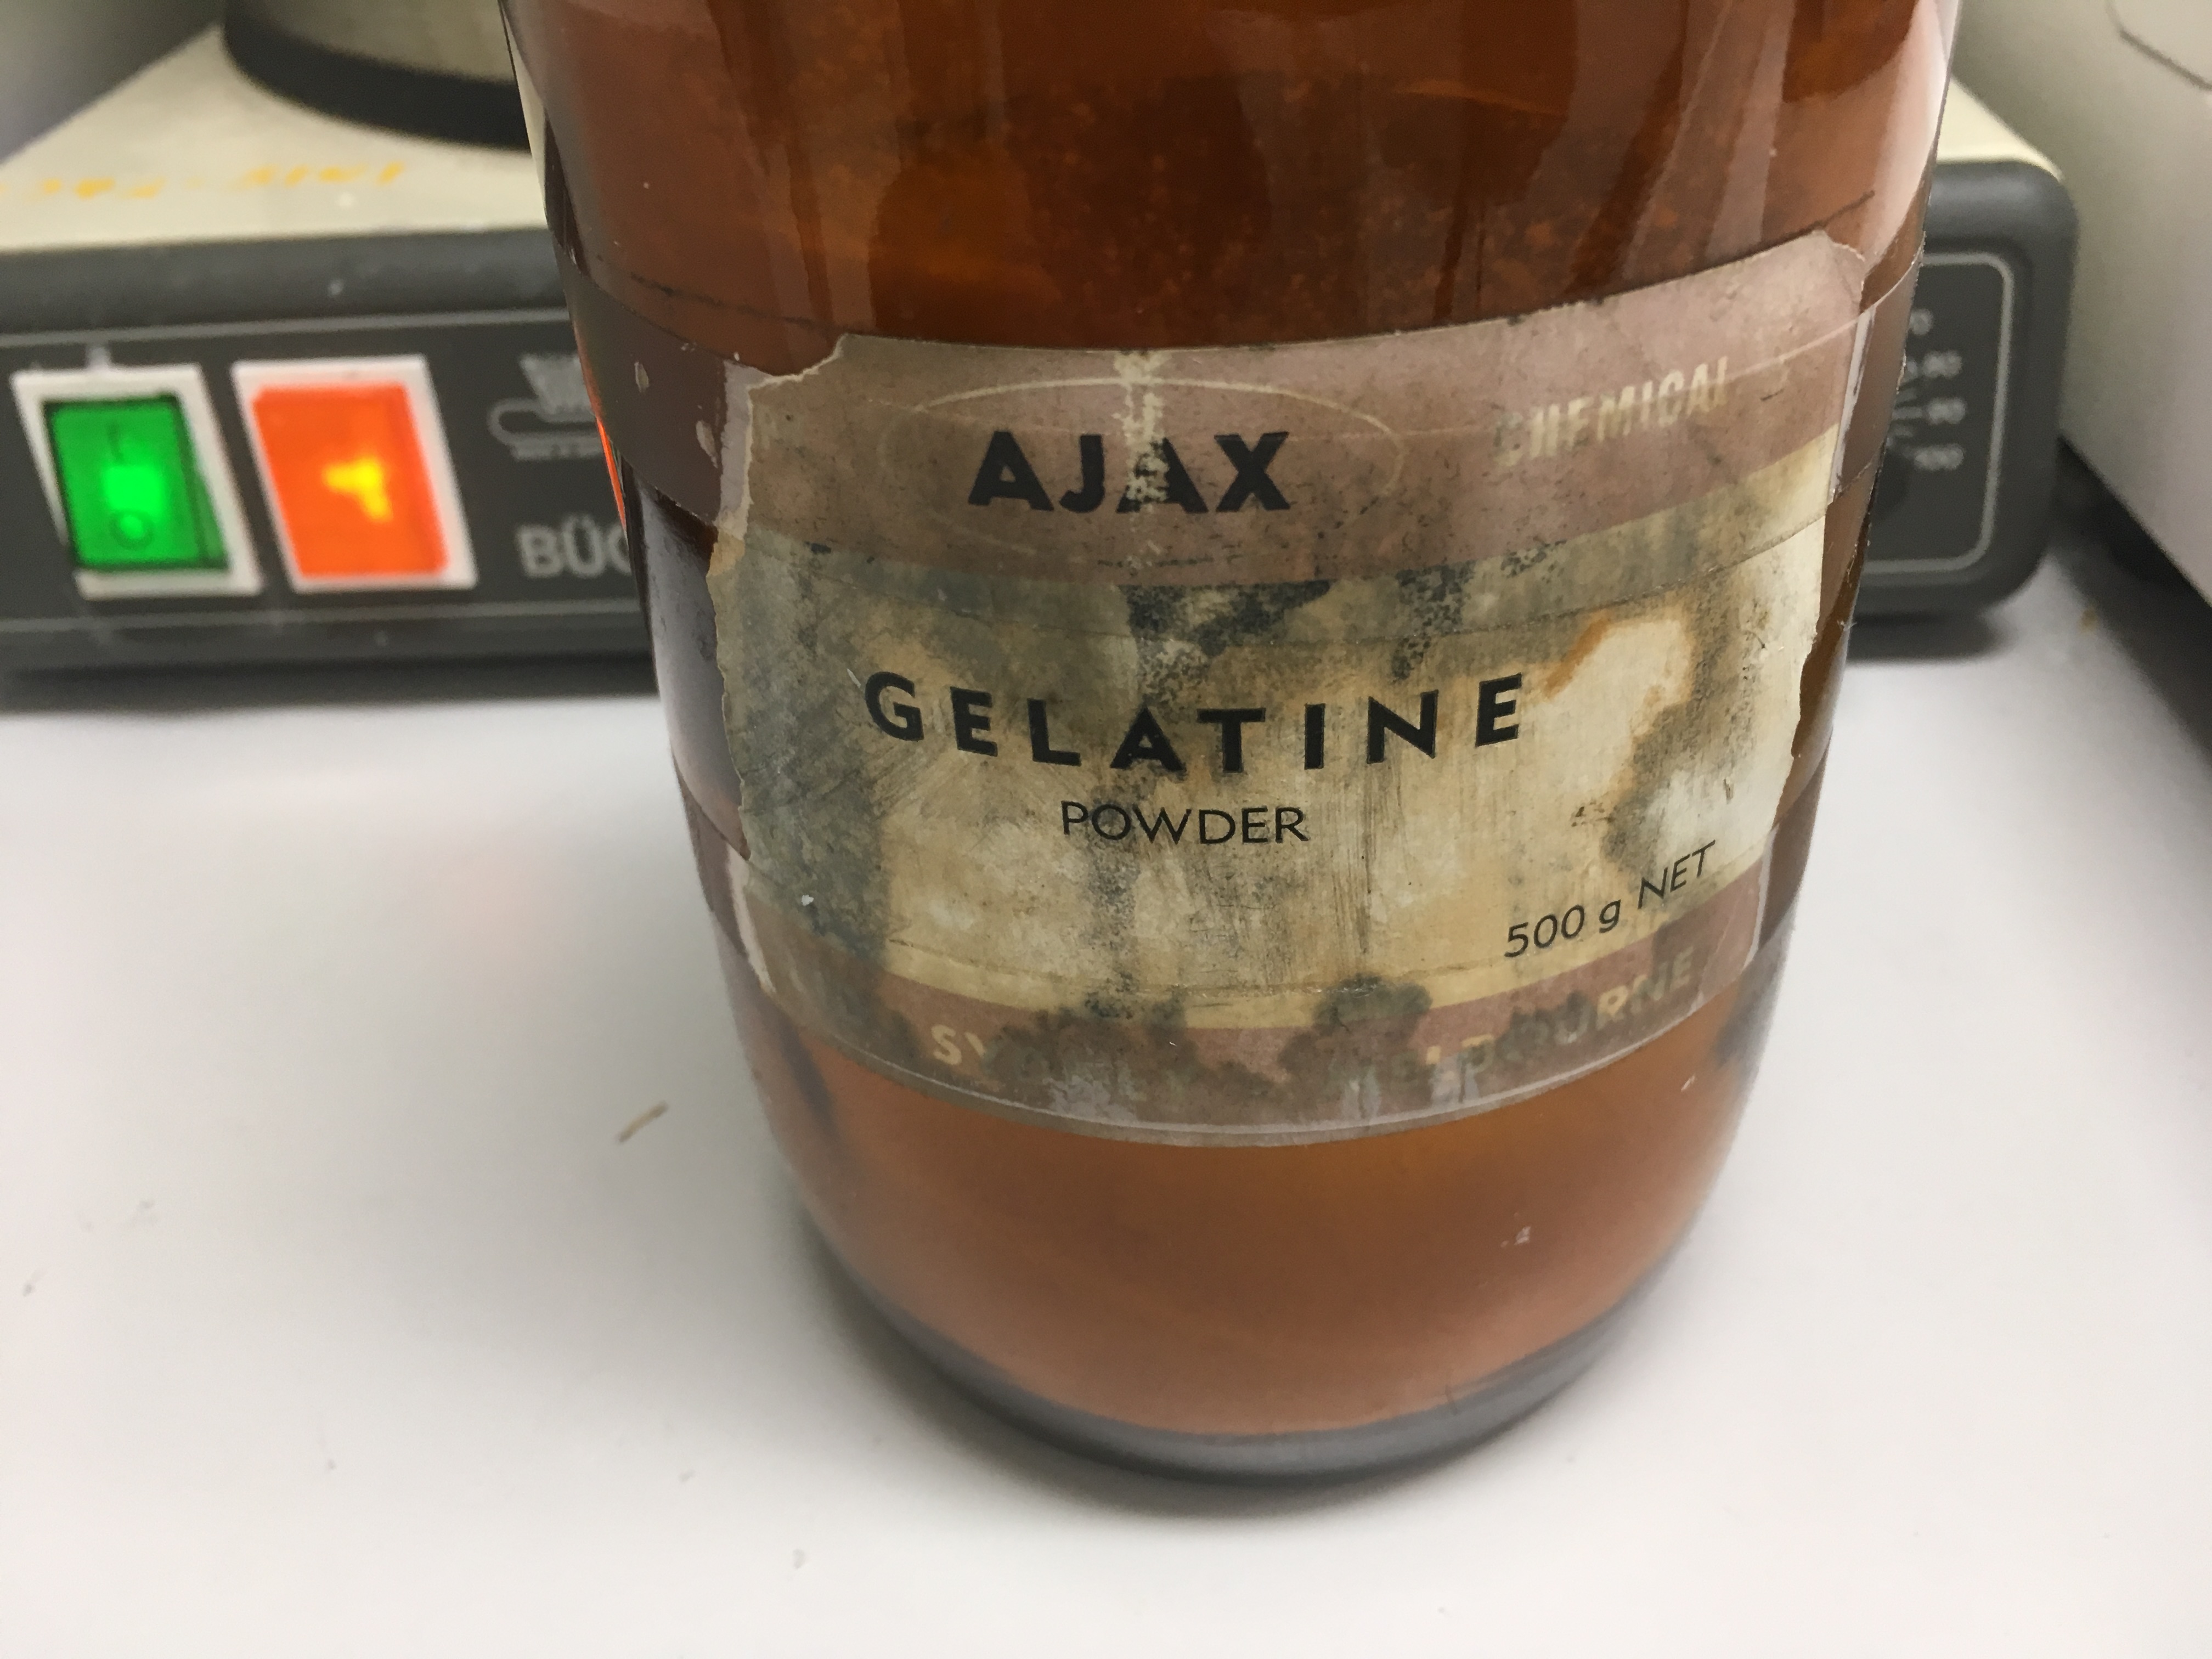
- Set up water bath at 35-40C, sprinkle small amount of gelatine (~1/4 to 1/2 tsp) over water, stir occassionally until fully dissolved.
- Heat block to 37C.
- Stir gently to not create bubbles on surface of water bath.
- OPTIONAL: Trim blocks into trapezoid shape so that sections’ orientation is obvious for mounting. I did find that un-trimmed blocks were easier to maneuver (more empty wax to grab with tweezers). This is particularly unnecessary when you only want to mount 1 section per slide.
- Set sectioning machine section depth, and trimming depth. For gonad, use 6-8um for sectioning, and 20um for trimming blocks.
- Adjust blade plate/unit as needed to align the blocks edge close to the blade and for even sectioning.
- Trim block until section includes all desired tissues.
- OPTIONAL: for tissues with high lipid content (e.g. oocytes) apply diluted hand/dish soap to block prior to taking section. Use towel to dab, and apply liberally, and then let dry briefly. The first 1 or 2 sections may be too soft to use, but it’s best to use those sections close after.
- Carefully cut sections, use paintbrush to remove and transfer to piece of paper and cut out desired section.
- Use tweezers to carefully transfer section to surface of water bath. Avoid bubbles. Orient section so that the side facing you in the block is facing up.
- Allow section to smooth on surface of water bath for ~10 seconds to ~2 minutes. Wrinkles should not remain.
- Dip empty glass slide into the water, pick up the section and pull up at a 90 degree angle (so water runs off slide).
- Use paper towel to dry bottom and sides of slide of excess water.
- Dry slide on heating block (37C) for a few hours, or overnight at room temp.
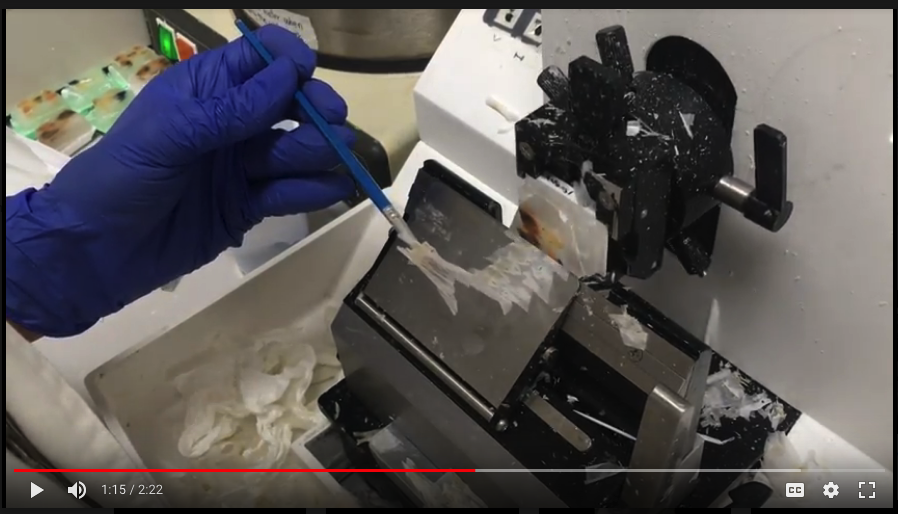
Click the following image to see video of sectioning tissue
Haemotoxylin & Eosin staining & permount
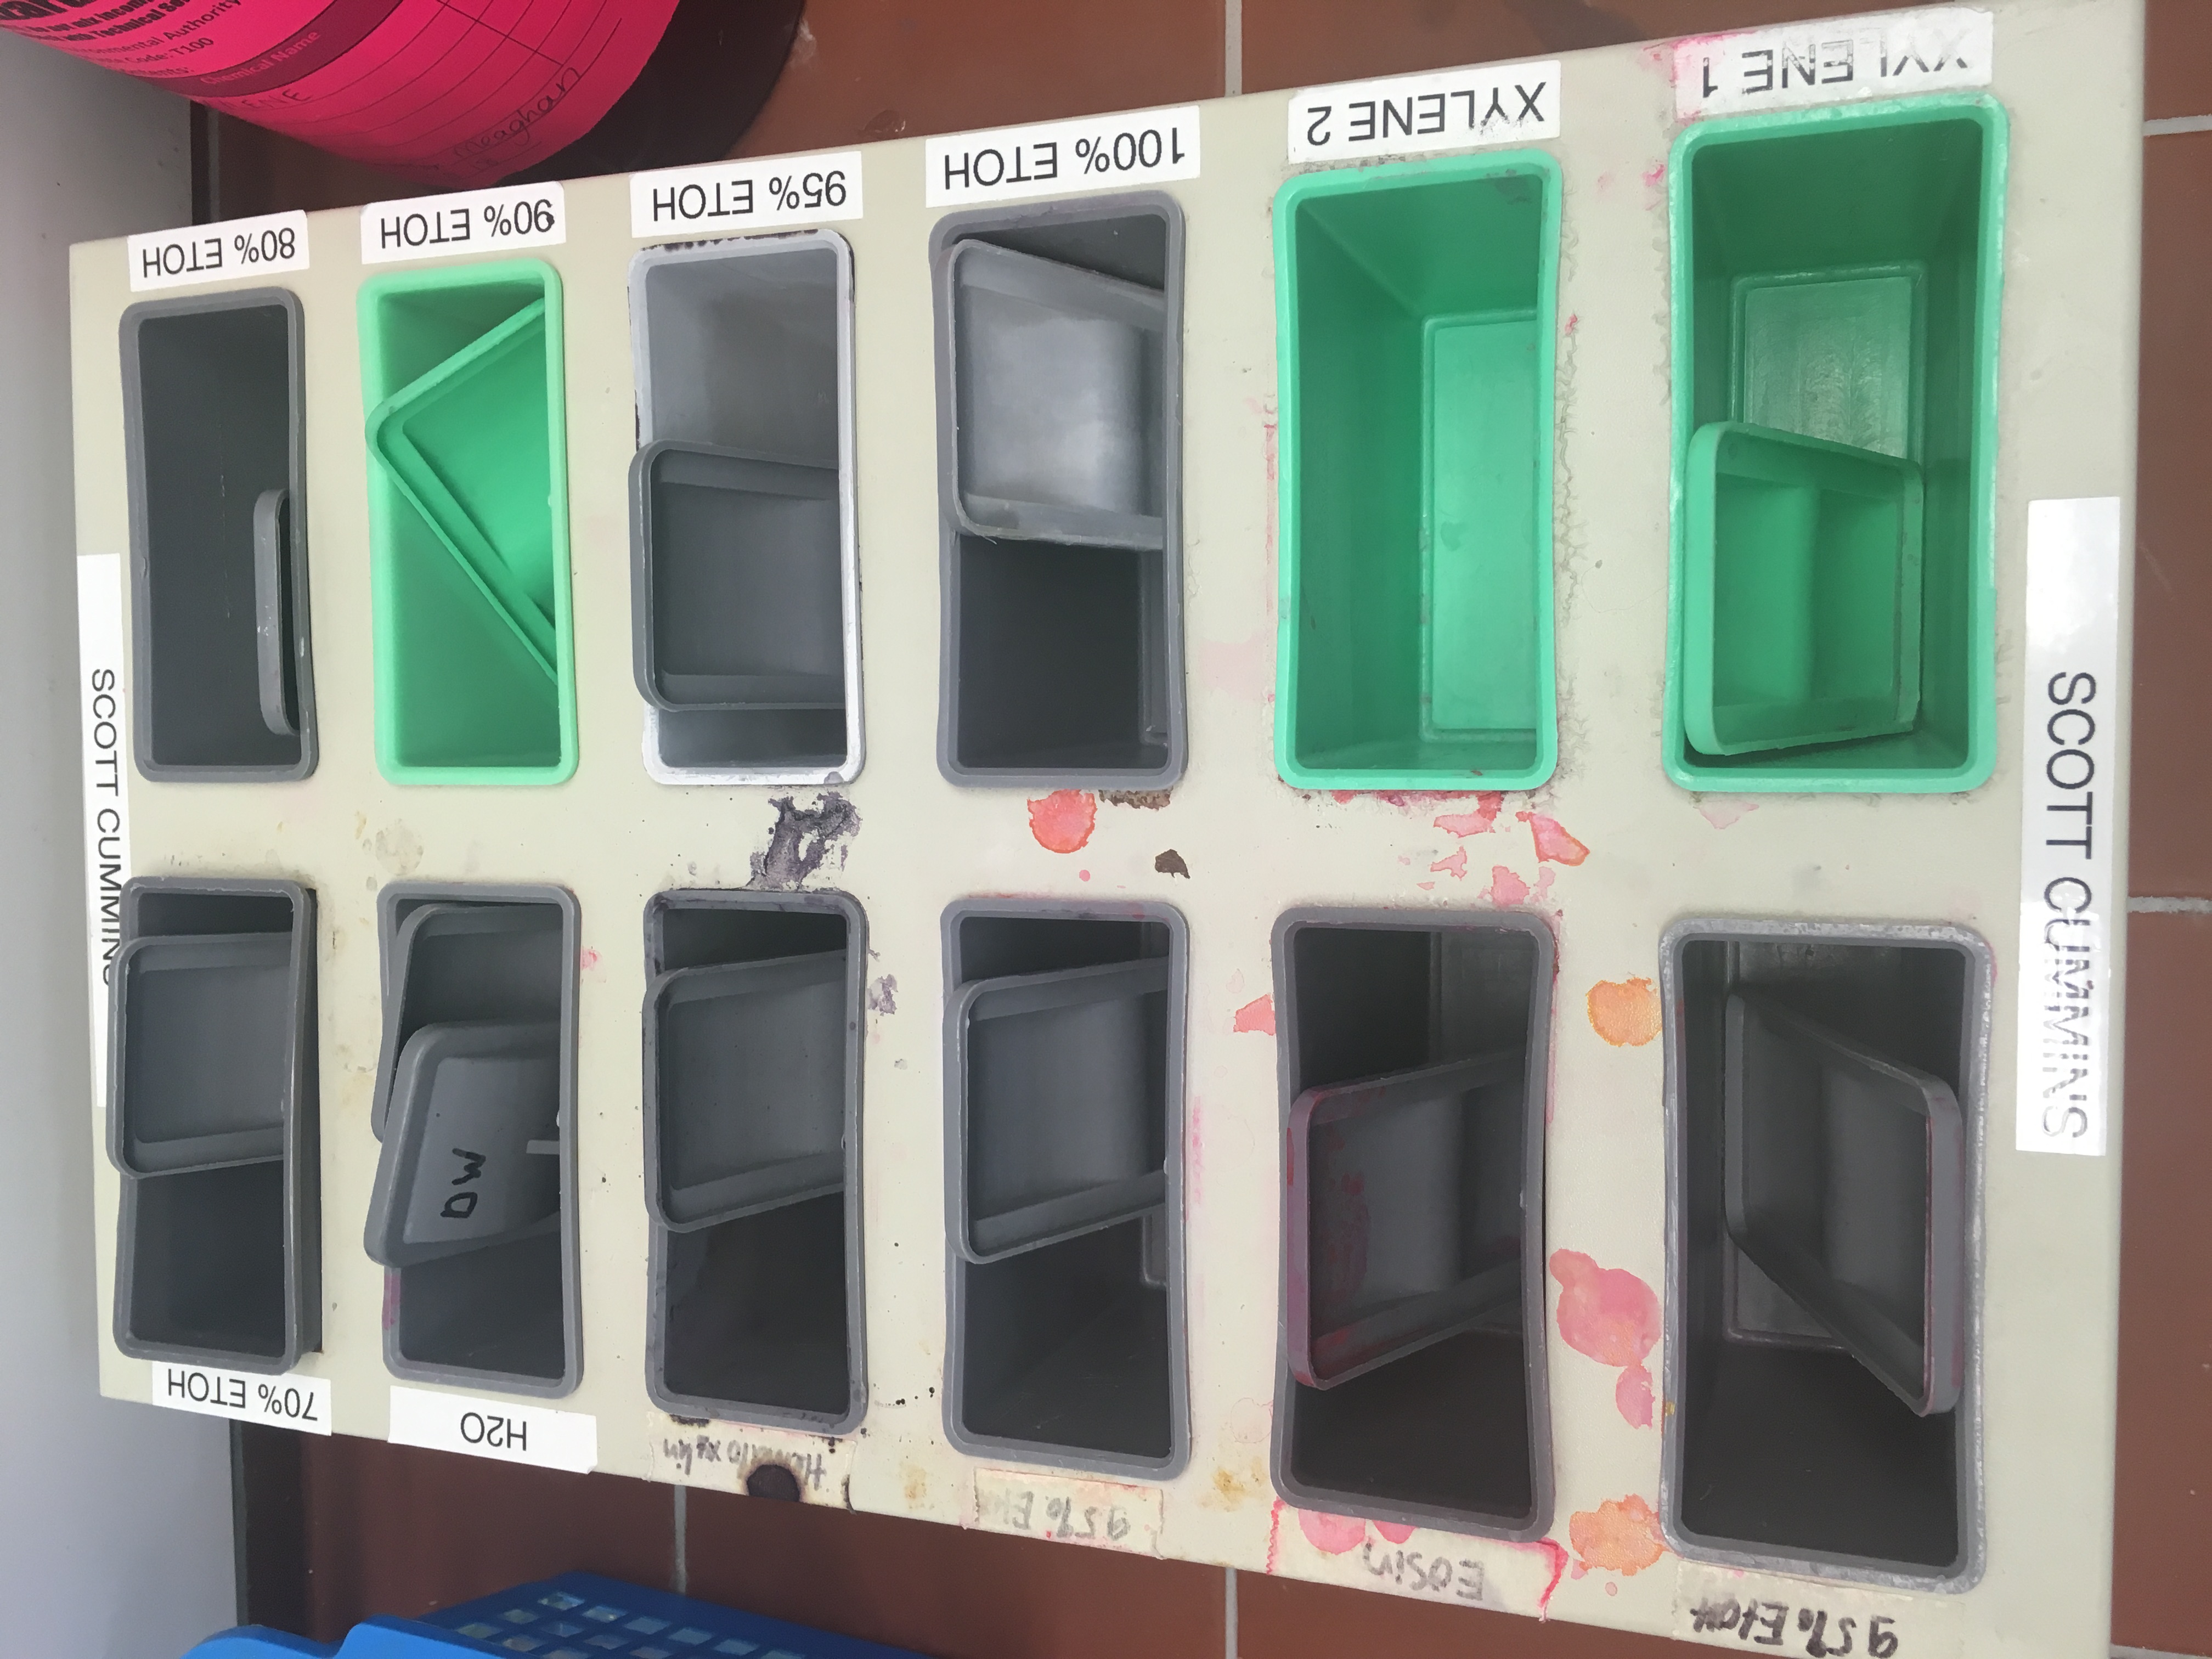
Stain slides using Haemotoxylin (purple) & Eosin (pink), aka H&E, for gonad tissue. Supplies needed:
- Well kit with rack is very helpful. Can use beakers if needed.
- Xylene
- 100% ethanol
- 90% ethanol
- 80% ethanol
- 70% ethanol
- DI water
- Hemotoxylin - strained immediately prio to use
- Glass funnel with filter paper (to strain hemotoxylin)
- Eosin
- Access to running tap water
- Fume hood
Steps
- Do all the following under a fume hood.
- Pre-fill all wells with the following reagents. Volumes will depend on staining rack, but I used ~100mL.
- Note that 4 separate Xylene volumes are required, 4 separate 100% Etoh, and 3 separate 95% Etoh.
- Place mounted/dried tissues/slides into rack, and walk through the below steps.
- Hold slides in final Xylene step as you permount them, working with one slide at a time.
- Use cover slip that will cover entire tissue, apply line of permount solution along the middle/length of the cover.
- Remove a slide, wipe away excess xylene from bottom of slide and sides (careful- don’t wipe off tissue section!)
- Place slide tissue side down onto the cover slowly, flip over and let permount spread slowly. Use something (tweezer, spatula, etc.) to gently press cover slip over each tissue so permount is evenly distributed.
- Let slides dry overnight sitting on a level surface.
NOTES:
- Reagents can be used up to 20 times.
- Pausing is OK at xylene and water steps. NOT okay in dye or ethanol.
- The longer the slides sit in hemotoxylin/eosin the darker the dye, but should be extended for thicker sections (the below was used for 7um sections).
| Order | Reagent | Duration | NOTES |
|---|---|---|---|
| 1 | Xyelene #1 | 10 minutes | |
| 2 | Xyelene #2 | 10 minutes | |
| 3 | 100% Ethanol #1 | 7 minutes | |
| 4 | 100% Ethanol #2 | 7 minutes | |
| 5 | 95% Ethanol #1 | 7 minutes | |
| 6 | 90% Ethanol | 7 minutes | |
| 7 | 80% Ethanol | 7 minutes | |
| 8 | 70% Ethanol | 7 minutes | |
| 9 | DI Water | 7 minutes | |
| 10 | Hemotoxylin | 1:45 minutes | |
| 11 | Tap water flush | 10 minutes | Place rack into container with tap water, dump immediately and refill, place under indirect flowing tap water (direct stream to slides may dislodge tissues) |
| 12 | 95% Ethanol #2 | 10 dips | |
| 13 | Eosin | 2 minutes | |
| 14 | 95% Ethanol #3 | 10-15 dips | The more dips the lighter the eosin (pink) stain |
| 15 | 100% Ethanol #3 | 5 minutes | can be a bit less duration |
| 16 | 100% Ethanol #4 | 5 minutes | can be a bit less duration |
| 17 | Xyelene #3 | 10 minutes | |
| 18 | Xyelene #4 | 10 minutes |